Introduction:
Enhance the beauty and longevity of your wooden fence with fencing staining and sealing—a powerful duo that protects against decay, repels water, and adds a splash of color. This comprehensive guide navigates the essentials of fence staining, from understanding its benefits and exploring various types to mastering the preparation process. By choosing the ideal stain and sealer, you’ll master a step-by-step approach that ensures a vibrant, durable finish for your outdoor sanctuary.
- Understanding Fence Staining: Benefits and Types
- Preparing Your Wooden Fence for Staining and Sealing
- Choosing the Right Stain and Sealer
- Step-by-Step Guide to Effective Fence Staining and Sealing
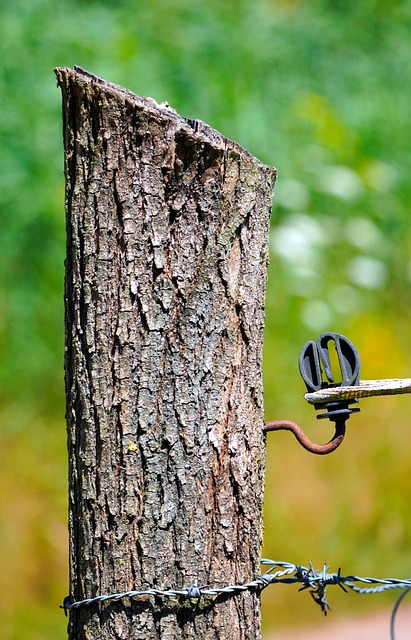
Understanding Fence Staining: Benefits and Types
Fence staining is a popular method to enhance the appearance and protect wooden fences. By applying a colored sealant, homeowners can transform their outdoor spaces into visually appealing areas. Staining offers numerous benefits; it not only adds a new dimension of color but also serves as a protective layer against the elements, such as UV rays, rain, and snow, which can cause wood to fade or rot over time. Regular maintenance like staining can extend the lifespan of your fence, saving you money on costly repairs.
There are various types of fence staining options available, each with unique characteristics. Water-based stains are popular for their low odor and quick drying time. They offer a subtle color enhancement while still allowing the wood grain to show. Oil-based stains, on the other hand, provide deeper, richer colors and better protection against moisture. These stains can be more durable but take longer to dry. Choosing the right type depends on personal preference for aesthetics and the level of protection needed for your fence.
Preparing Your Wooden Fence for Staining and Sealing
Before applying any stain or sealant, preparing your wooden fence is crucial. Start by thoroughly cleaning the fence to remove dirt, dust, and mildew using a pressure washer or a stiff brush. This step ensures that the surface is free from contaminants, allowing for better adhesion of the staining and sealing products.
Next, sand the wood gently to smooth out any rough patches, splinters, or old finishes. This process opens up the wood’s pores, enabling better absorption of the stain. Fill in any cracks or gaps with a suitable filler, and once dry, lightly sand again for a seamless finish. Removing loose debris and preparing the fence properly will result in a more even application of your chosen staining and sealing products.
Choosing the Right Stain and Sealer
When it comes to enhancing your wooden fence, selecting the ideal stain and sealer is a crucial step. The market offers a wide array of options, each catering to different wood types, climates, and personal aesthetics. Consider the natural color and grain of your fence as a starting point; some stains enhance the wood’s natural beauty while others transform it into a bold, new look.
In terms of sealers, protection is key. Water-based sealers are popular for their low odor and quick drying time, making them ideal for areas with high humidity. On the other hand, oil-based sealers provide deeper penetration and longer-lasting protection against harsh weather conditions. Choosing a sealer compatible with your climate and fence material will ensure longevity and maintain the visual appeal of your wooden fence over time.
Step-by-Step Guide to Effective Fence Staining and Sealing
To effectively stain and seal your wooden fence, start by cleaning the surface thoroughly to remove any dirt, dust, or debris. Use a pressure washer or a brush with mild detergent and water. Dry the fence completely before proceeding.
Next, choose a suitable stain that matches your desired color and weather protection level. Apply the stain using a brush or roller, following the manufacturer’s instructions for application methods and drying times. After the stain dries, apply a layer of high-quality sealant to protect the wood from the elements. Use a broad brush or pad for even coverage, and ensure you follow the product guidelines for optimal results.